If you backup data to the cloud using a cloud storage service that does not provide end-to-end encryption, it is possible that someone could access your personal data. For this reason, it is essential that you encrypt your data yourself before uploading it.
In this guide, we will explain why encryption is so important and how you can encrypt your data yourself if you want to keep using services like Google Drive, DropBox, or iCloud.
How to encrypt data for any cloud service
If you are accustomed to using Google Drive to back up your data (or any service without E2EE) – you may be wondering how you can encrypt your data yourself to store it on your existing cloud backup space.
The good news is that anybody can encrypt their information themselves before they upload it. This ensures that the cloud storage provider can not access your data under any circumstances.
Even if a cloud storage provider scans your vault using automated algorithms (to search for keywords for advertising, for example) – or the government serves it a warrant; it will not be able to access your files. This is because your data was already encrypted before being uploaded.
The easiest way to encrypt your data yourself: NordLocker
The best way to encrypt your data is to use a tool designed to lockup files or folders using a single master password. This ensures that you only have one password that you need to remember to decrypt various different encrypted files or folders.
In our opinion, NordLocker is the best service of its kind for Windows and Mac computers because it is extremely easy to set up and use. It also leaves users in complete control of their encryption keys and allows them to encrypt their data before uploading it to services like DropBox or Google Drive.
How to encrypt files using NordLocker:
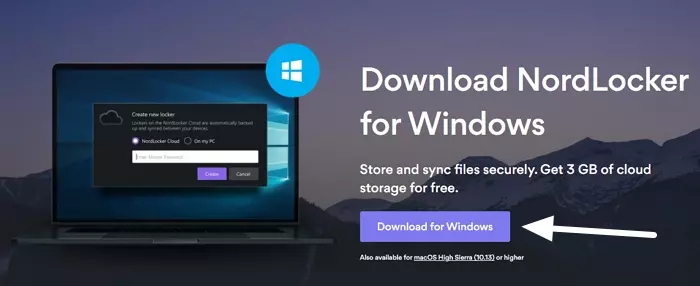
- Head over to the NordLocker website and download the app.
![Nordlocker]()
- Launch the executable file to install the app on your Windows or Mac computer.
- Pick a location to install the app (you can accept the default location).
![select file destination]()
- Click Finish to launch NordLocker.
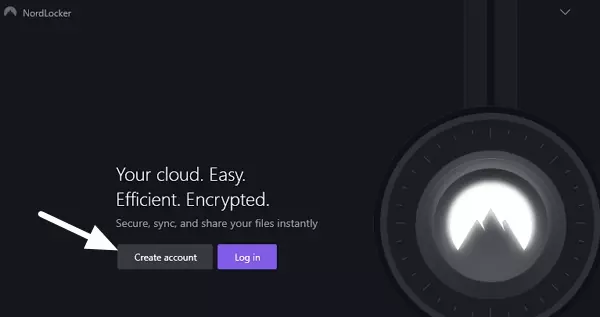
- Click create a new account (this will direct you to the NordLocker website).
![Create Nordlocker account]()
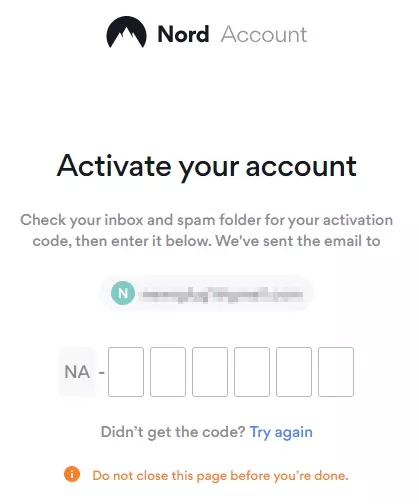
- Enter a valid email address.
- Enter the validation code received via email.
![Activate account]()
- Create a password for your Nord account.
![Nord account created]()
- Launch the NordLocker app and log in using your Nord Account password.
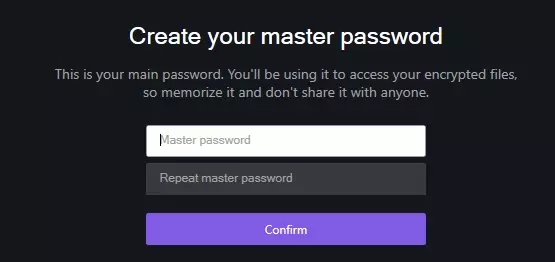
- You will now need to set up the Master Encryption Password (remember to save the recovery key, as this is the only other way to access your encrypted files if you forget the password).
![create master password]()
- You can now drag-and-drop files to your encrypted NordLocker folders. Alternatively, you can use the Add files or Import folder button to import individual files or entire folders to a locker. You can also opt to make more individual lockers, to organize your data how you prefer.
-
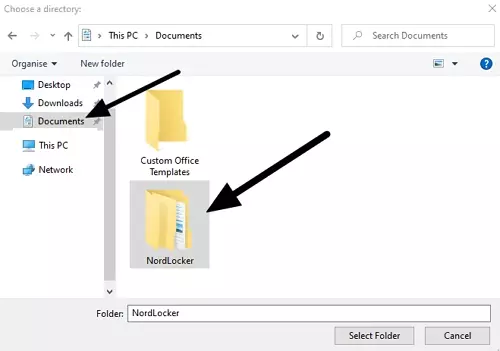
Launch the Google Drive app (or whichever other cloud backup service you prefer) and upload your encrypted folders to the cloud. Your NordLocker folders are a sub-folder located in your Documents folder:
![documents on windows PC]()

Can I encrypt with NordLocker on macOS?
Yes. Nordlocker is available for both Windows and Mac, which means that you can use the app on either Operating System to create encrypted folders. Simply follow the steps above to encrypt your files on your Mac. Following that, upload the encrypted folders to your preferred cloud backup service.
How to zip files to upload them encrypted
If you don't want to use NordLocker's free tool to encrypt your data before uploading it securely to a cloud backup service, you can opt to password protect folders by zipping them up.
Zipping your files will make them smaller, and by password protecting them, you ensure that nobody but you can access the contents of those zipped folders. Below, we have explained how to create password-protected zip files with 7-Zip.
How to encrypt and password-protect files using 7-Zip on Windows
- Navigate to 7-Zip and download the version you need for your machine.
- Install the 7-Zip app using the executable file.
- Locate the file/folder that you want to Zip on your computer.
- Right-click on the file/folder and select 7-Zip > Add to archive.
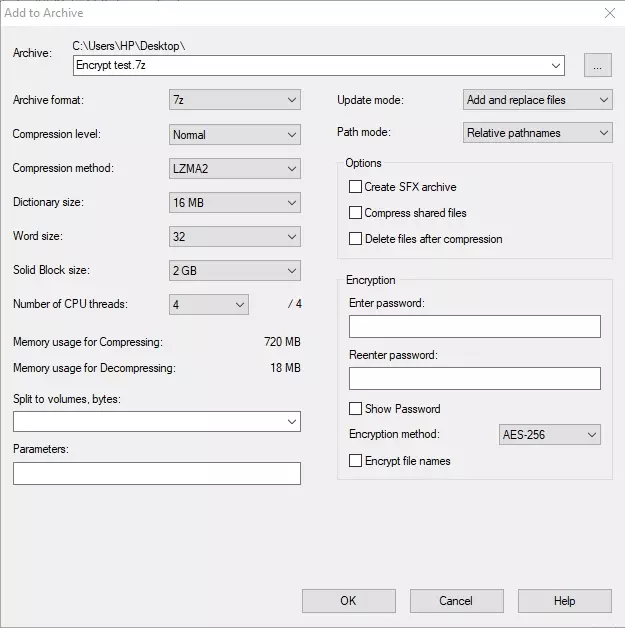
- You will now see the screen below:
![encryption settings]()
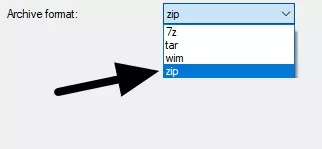
- Change the archive format to zip to make it a standard zip format folder.
![change format]()
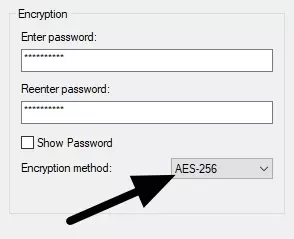
- Enter a password and change the encryption type to AES-256. You will need to enter the password twice. Make sure the password is unique and strong, and that you have made a note of it somewhere. You will need the password to decrypt the Zip file every time you open it.
![encryption method]()
- Click OK to encrypt the file and password protect it.
- Your password-protected encrypted folder will now appear in the same directory where the original file was located.
You can now back up and store your encrypted folder with any cloud backup service. The files are private and secure because they cannot be decrypted without the password.
How to encrypt and password-protect files using WinZip on Mac or Windows
Anybody can easily use WinZip to password protect files and encrypt them on both Windows and Mac. Best of all, WinZip is directly compatible with DropBox and Google Drive, which means that you can easily encrypt and password-protect files to store them on those services.
- Open WinZip.
- In the Actionspane, click Encrypt.
- Drag and drop the files you want to encrypt into NewZip.zip
- Enter a robust password and click OK. Make a note of the password, because you will need it to access the contents of the encrypted folder.
- Click the Options tab in the Actions pane and choose Encryption Settings. Set the level of encryption that you want and click Save. (We recommend AES-128 or higher.)
The password-protected encrypted folder has now been created and you can upload it to any cloud backup service.
The problem with server-side encryption
Server-side cloud encryption ensures that your data is secure while at rest. Unfortunately, it also means that the service provider controls your encryption keys on your behalf. The benefit of this is that the service provider can provide access to your vault if you forget your password.
Server-side encryption is problematic for data privacy because it can allow the cloud storage provider to scan your data using automated tools – or to provide the government with access to your backups if served a warrant.
It also results in security concerns because the service provider must store your encryption keys on its servers. As a result, they could be breached, leaked, or potentially misused by someone at the company.
The best solution to this problem is to ensure that your data is always encrypted securely before it is uploaded, using a master key that only you control.
Encrypt an external hard drive
If you use an external hard drive regularly to backup your data, then it is important to encrypt those files. Check out our how to encrypt an external hard drive page the steps on how to do this.
Use a cloud backup with end-to-end encryption
The best way to ensure your data is always secure is to use a cloud backup service that provides a zero-knowledge service. These cloud backup services provide strong end-to-end encryption natively. As a result, you (and only you) are in control of the keys to your vault.
These cloud backup/cloud storage services make encrypting your data before it is uploaded to the cloud a standard feature, which makes controlling your data and encrypting it before it is uploaded to the cloud an automated process. Check out our best VPNs with end-to-end encryption guide for a list of the best services.
This is the easiest way to encrypt your data and store it on the cloud, so click the link above to find out more.