Pricing
PiVPN is a free and open-source software suite that sets up a VPN server using OpenVPN server software. It has been designed specifically to run on a low-cost Raspberry Pi, although it should (in theory) work on most Debian setups.
A base Raspberry Pi costs $35 USD, to which you will also need to add an SD card to install the OS onto, and either a WiFi dongle or ethernet cable to provide an internet connection. These are the minimum requirements, but you can add more if you choose.
PiVPN should run well any on Raspberry Pi. We used an old Pi 2 model B, but given its low price point, we recommend buying the latest model of Raspberry Pi for best OpenVPN performance.
It is “strongly recommend” to use Raspbian Lite (“Buster” at the time of writing) so that the Pi can act as a headless VPN server without the need to attach a screen, keyboard, and mouse. Under such a setup, you install and control the PiVPN via , although you will temporarily need to connect a screen and keyboard in order to enable SSH.
Check out our how to SSH into a rapberry Pi Guide to find out more information.
Features
- One-line install
- Will setup a static IP address for you
- Unattended upgrades
- OpenVPN over UDP or TCP
- Own or choice of public DNS servers
Privacy and security
PiVPN is really just a collection of community-developed scripts for deploying open-source software. So jurisdiction is not really an issue.
Technical security
All the open-source scripts used to set up a PiVPN are highly configurable. But out-of-the-box, your PiVPN will use the following OpenVPN settings:
Data channel: an AES-256-CBC cipher with HMAC SHA256 authentication.
Control channel: an AES-256- ETR cipher with ECDH handshake encryption and HMAC SHA256 authentication. ECHD also provides perfect forward secrecy.
ECDH uses the ECDSA signature algorithm and is user-selectable from 256-bits to 512-bits. As a point of reference, ECDSA-256 is considered just as secure as RSA-384. If you prefer or need to maintain compatibility with pre-OpenVPN 2.4 clients, then you can opt to use RSA instead of ECDSA.
If you want to learn more about this subject, then please check out our Ultimate Guide to VPN Encryption.
One thing to consider, though, is DNS encryption. You can select a secure DNS provider (or perform your own DNS lookup), but by default, DNS requests are not encrypted. Fortunately, it is possible to add DNSCrypt to your PiVPN.
Other considerations
It is often (wrongly in our view) stated that running your own VPN server is more private than trusting a third-party VPN service to do it for you. But this depends on how you look at the problem.
Your PiVPN will be 100% under your own control and it will prevent your Internet provider from seeing what you get up to online, all with the bonus of not paying any monthly subscription costs. It's also a great way to protect your data and browsing habits when using public WiFi.
Despite this, the PiVPN is operating from your IP address, so any activity performed when using the VPN can be easily traced back to you. Websites will still see your real IP address because it’s the IP address used by your PiVPN.
Running your own VPN server has definite advantages, but if you want privacy, then a good no logs VPN will probably serve you better.
Support
Official support for PiVPN is minimal, although a link is provided to a (slightly outdated) third-party setup guide and some instructional videos. The beauty of PiVPN, however, is that it makes setting up a Raspberry Pi as an OpenVPN server about as easy as it gets.
If you do run into problems, then a forum on the PiVPN github page is active, although not all questions receive answers.
How to set up and use PiVPN
Note
For the sake of brevity, we have opted not to show every click-through screen displayed during the setup process due to length, but these are self-explanatory and should guide you without issue.
If you are going to run PiVPN as a headless server then you will need to SSH into it. We may publish our guide to doing this is the future, but for the time being, check out this article on how to SSH into Raspberry Pi.
Install the OpenVPN server
- Fire up Terminal and enter:
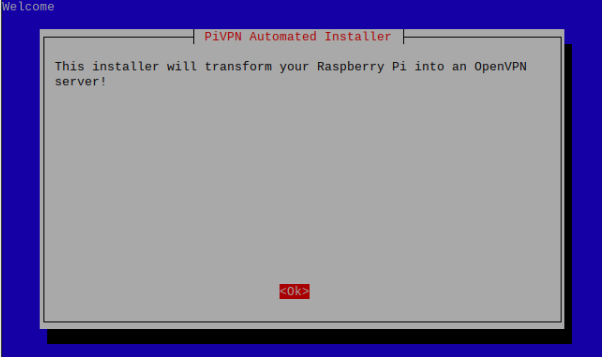
curl -L https://install.pivpn.io | bash
This starts up a simple GUI interface that holds your hand throughout the setup process. Most of the steps are automated for you, but the install script explains what is going on and asks you to make a couple of key decisions.
![PiVPN automated installer]()
-
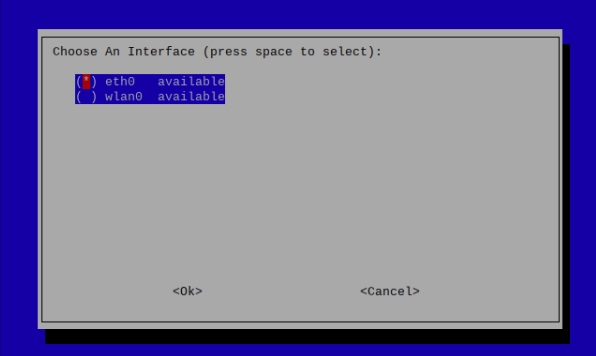
Setup a static IP address on which your VPN server connected to. This is often one of the trickiest parts of setting up your own VPN server, but PiVPN does it all for you! Simply choose which network interface you are going to use (if you have more than one)...
![choose an interface]()
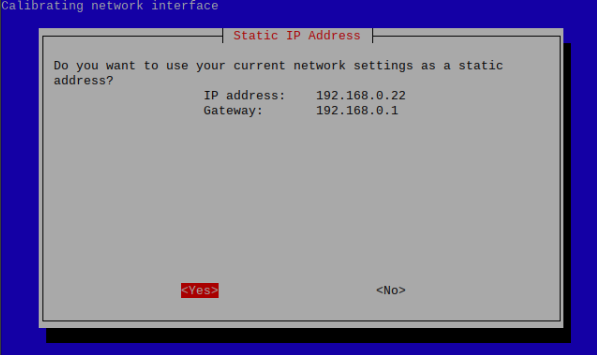
... and an IP address your server can be contacted on. If you just click Yes then PiVPN will use your current IP address.
![static IP address]()
-
A cool feature of PiVPN is that it will auto-maintain itself by downloading and installing patches and upgrades. You can opt-out of this, but we’re not really sure why would you want to.
![Unattended upgrades]()
-
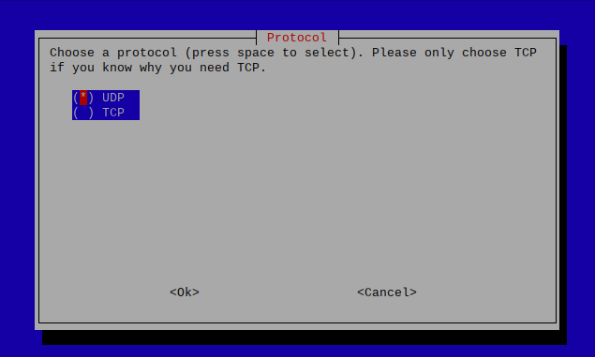
You can run OpenVPN in UDP or TCP mode, but unless you need TCP for obfuscation reasons (regular HTTPS traffic runs over TCP port 443) then you should probably stick with UDP.
![UDP and TCP protocols]()
-
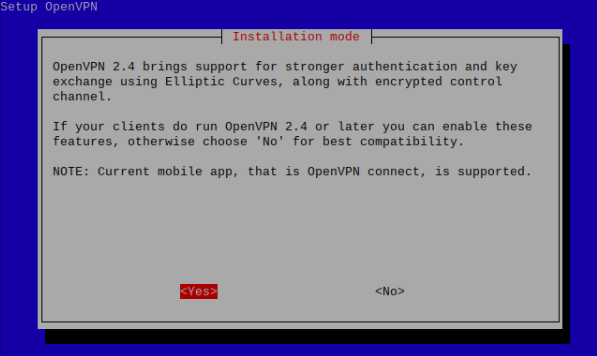
Select the encryption used for TLS exchanges. As discussed in the Technical Security section above, by default PiVPN uses ECDH with the ECDSA signature algorithm to secure TLS connections and provide perfect forward secrecy. If you need backward compatibility with older clients, then you can opt to use RSA instead.
![Installation mode]()
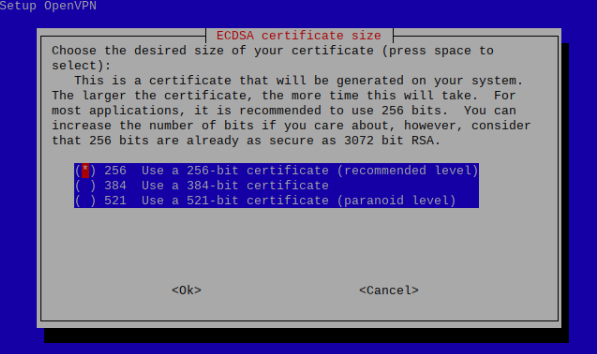
Assuming you go with ECDH, you can opt to use up to 521-bit certificates.
![ECDSA certificate size]()
-
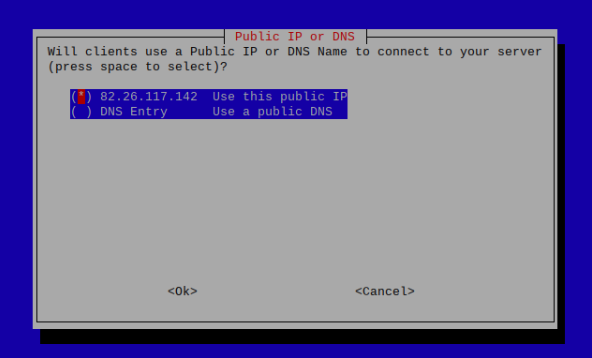
Choose a DNS server. You can run your own DNS server on either another machine using your home LAN or on the Raspberry Pi itself. It’s much easier to use a third-party DNS service, however.
![Public IP or DNS options]()
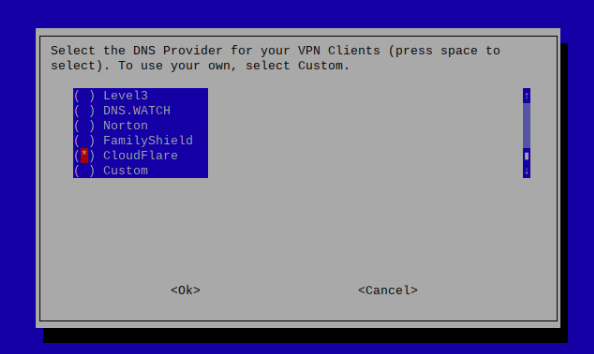
If you care even slightly about privacy, then you should clearly avoid the likes of Google DNS, but there are some excellent privacy-focused DNS services out there these days.
![DNS provider settings]()
As already mentioned, though, if you want your DNS queries to be encrypted then you will need to install DNSCrypt on your Raspberry Pi.
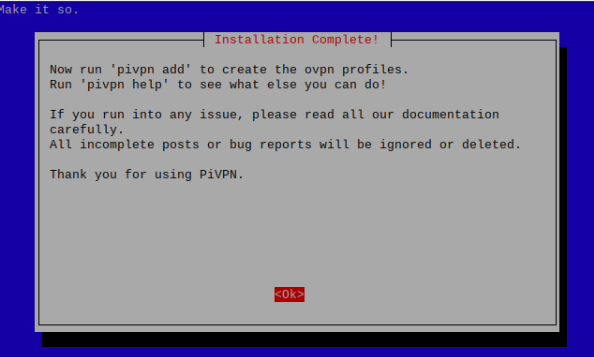
And that’s it! Just reboot your Raspberry Pi for it to start acting as an OpenVPN server.
![Installation complete]()

Which is great, but you can’t actually connect to it without .ovpn files for your OpenVPN apps...
Create OpenVPN configuration certificates
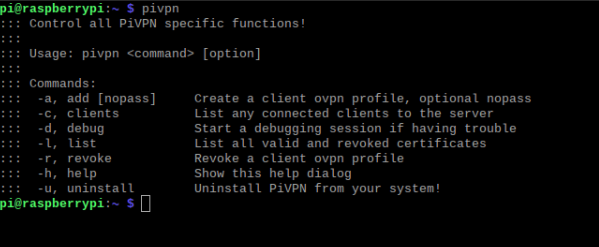
Open Terminal and enter pivpn to see the core PiVPN commands available to you.
To create a .ovpn certificate enter pivpn -a and simply follow the text-based wizard.
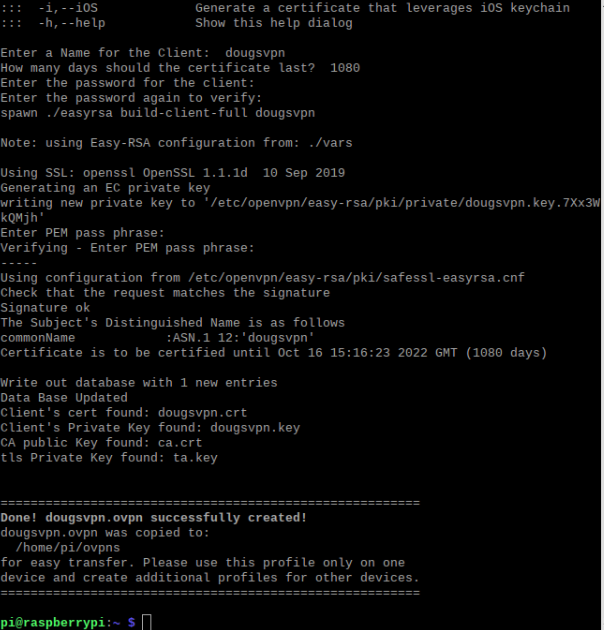
You can use any name and password you like for the client (.ovpn file). Once done, an .ovpn file is saved to the Pi’s home/pi/ovpns folder. From here you can transfer it to your client devices via email, LAN connection, cloud storage service, USB stick, or whatever.
PiVPN recommends that you create a unique ovpn.cert for each device you connect from.
Connecting to your PiVPN server
Once you have transferred an .ovpn file you generated in the last step to your device, then you can it use it just as you would any regular .ovpn file using OpenVPN software such as OpenVPN GUI for Windows, Tunnelblick for macOS, OpenVPN for Android, OpenVPN Connect (for most platforms, but mainly useful for iOS), or via NetworkManager or GUI in Linux. Check out our how to set up a VPN for Linux page for more information.
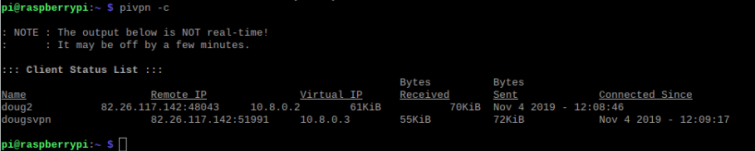
You can monitor connected devices in the Raspberry Pi by entering pivpn -c.
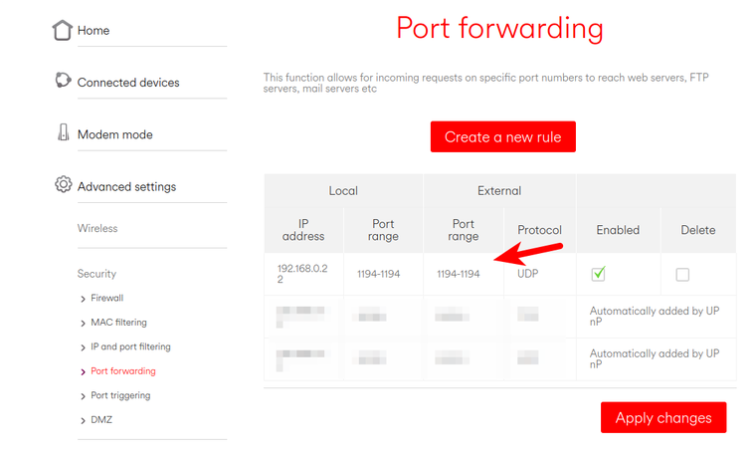
Important!
To connect to your PiVPN server you must also port forward through your router. The specifics vary router by router, so consult your router’s documentation. Unless you have changed the default setup then you need to port forward Port 1194 (UDP usually, unless you selected TCP in setup Step 4 above.
Performance
Just out of interest we ran some speed tests using our old Raspberry Pi 2 model B 1.1 from 2015.
Both the Pi and the test machine were plugged into our router via Ethernet cable, so distance to the server was not a factor. Therefore, this was purely a test of how well our aging Raspberry Pi handled the demanding job of OpenVPN encryption and decryption.

With no VPN

Connected to the Raspberry Pi 2 model B running PiVPN
These are perfectly usable speeds for surfing the internet, although the old Raspberry Pi clearly struggles somewhat. It should be noted, though, that the new Raspberry Pi 4 is a dramatically faster machine.
Pi-hole
A cool thing is that you can use the same Raspberry Pi to run PiVPN and Pi-hole But that’s a project for another day!